Present Joys

“We thank the Lord of heaven and earth
who hath preserved us from our birth
for present joys, for blessings past,
and for the hope of heaven at last.”

Tag new stairs

15 posts from July through September 2026

In summer 2026, we completely replaced the primary staircase in our home.

Staining the stairs

I haven’t posted about my stairs for a while here. It’s not because nothing is happening; it’s just that the progress I’m making is not terribly impressive. I’m waiting on the next phase of this project, where the spindles and remaining newel posts will be installed, and I can finally finish the platform floor. That will all happen in October, once the spindles are done and the built-in bookshelves in the foyer are in place.

In the mean time, I’ve spent a lot of time staining all the pieces (most of them in place, plus the stray newel posts and pieces of baseboard that aren’t in yet) to simultaneously match each other, to match the q/s white oak mantelpiece that will be installed nearby, and to match the stained fir trim that is present in the rest of the foyer. Basically, I’m trying to bring out the best qualities of the new quarter-sawn white oak pieces while making them feel old, to harmonize everything going on in the room. It’s been an infuriating process, in part due to the sheer amount of material that needs finished.

Everything needs to match—except the treads, that is: those need a different finishing schedule since they need to match the rest of my floor. Although the century-old white oak floor boards were recently refinished with a clear oil-based polyurethane, the old boards are so oxidized that new boards need a lot of toning to match. In the end, the colors aren’t that different from each other, but the difference is important, I think. It makes this whole thing look like it’s been here forever.

I also recently added panel molding underneath each stair tread. It’s such a small detail but it really goes a long way to making the whole project feel more ornamented.

We’re getting ready to leave for about two weeks of vacation, and we have a lot of progress to look forward to soon after we return!

This secondary newel on my new stairs is showing some good quarter-sawn white oak grain now that it's got a bit of stain and varnish on it.

I’ve been slowly adding color to all the bare wood parts of my new stairs. The treads and floor boards will be finished without any stain except for a tone coat to slightly darken them and match the rest of my floor. All the other components (basically everything that’s vertical) will be finished in a darker brown color to match the foyer mantelpiece and other trim in the room. The combination of different surfaces, different levels of existing finish, and sheer amount of surface area has made this very challenging. But some pieces are turning out looking quite nice. Above is one of my newel posts. The dye stain and two thin coats of oil-based varnish already bring out a lot of the quarter-sawn character.

Installing Anaglypta in the foyer

I’ve wanted to use a textured wall covering on my stairs ever since seeing it (in person) in another house in the neighborhood a few years ago. It’s not uncommon to see this photos of Victorian houses, but something about seeing the texture in person—and realizing how long it had been there—really stuck with me. Textured wallpaper is just one entry on the long list of “authentically Victorian interior design elements that seem trashy at first to moderns but can actually look fantastic when correctly executed”. The foyer will have a low dado (or wainscot, if you prefer) about 29″ high all around the room, with textured wallpaper applied to that section. Where the stairs go up, the dado rail and textured wallpaper will follow the line of the handrail—up to the platform, then up the second longer run of stairs all the way to the small hallway at the top of the stairs.

For those uninitiated, there are two UK-based companies producing textured wall coverings whose founding dates back to the Victorian era. Both companies are still in business and still producing many patterns designed over a hundred years ago. Lincrusta, is the gold standard, because their products are made from pure linoleum, but the materials themselves are exorbitantly expensive, difficult to source, and complex to install correctly. Lincrusta is almost certainly what I saw in that link above, but I can’t let myself contemplate it for a new installation. So I’m going with an equally pedigreed second-place option, Anaglypta, whose products are made either from paper, PVC, or a combination of the two.

I’d already installed Anaglypta in my dining room (I will get around to posting about that some day), but in that room, I chose a patterns with smaller scales that were easier to match and hang. For the stairs, I wanted a more dramatic pattern with a larger scale. I settled on the puzzlingly named Early Victorian (it was first produced in 1897).

I got three rolls of “Early Victorian” in the mail on Friday (pro tip: order from UK-based sellers on eBay) and eagerly started planning out my installation on Saturday. It’s harder than it may sound, because I wanted to align the pattern at an attractive place for the horizontal runs (in the main part of the room and also on the platform), then maintain a consistent pattern from there going up the stairs. It’s difficult to get clean seams, all the more so when you’re working up stairs with pieces cut at a 41° slope and trying to keep things plumb, but I’ve learned that paint blunts fine details in the paper—and also marginally overlapping seams.

Right now everything looks pretty sloppy (I know I sound like a broken record) because the unpainted paper discolors and attracts grime like crazy. I also haven’t installed base cap or dado rail moldings, so there are a lot of junky looking raw edges. But it’s a start, and it looks a whole lot better than it did before. Onward!

Saturday progress on stairs

Jordan is finished up with “phase 1” of his work, and he took all his tools yesterday, which freed up a lot of space for me to bring all my tools back up from their basement dungeon. I focused on three things today:

Panel detail on platform

I know it’s not much to look at, but it took a lot of calculations and drawings to get all these pieces of wood in the right place. I skinned the side of the platform with some leftover q/s white oak plywood, plotted out the placement of the apron and baseboard (so I could install blocking at the appropriate depth), then installed q/s white oak rails and stiles for a panel detail. It looks bad right now because it’s missing apron, baseboard, several pieces of base cap, and the little panel molding that will go inside each of the three panels. But it’s a start!

Ceiling molding and pendant

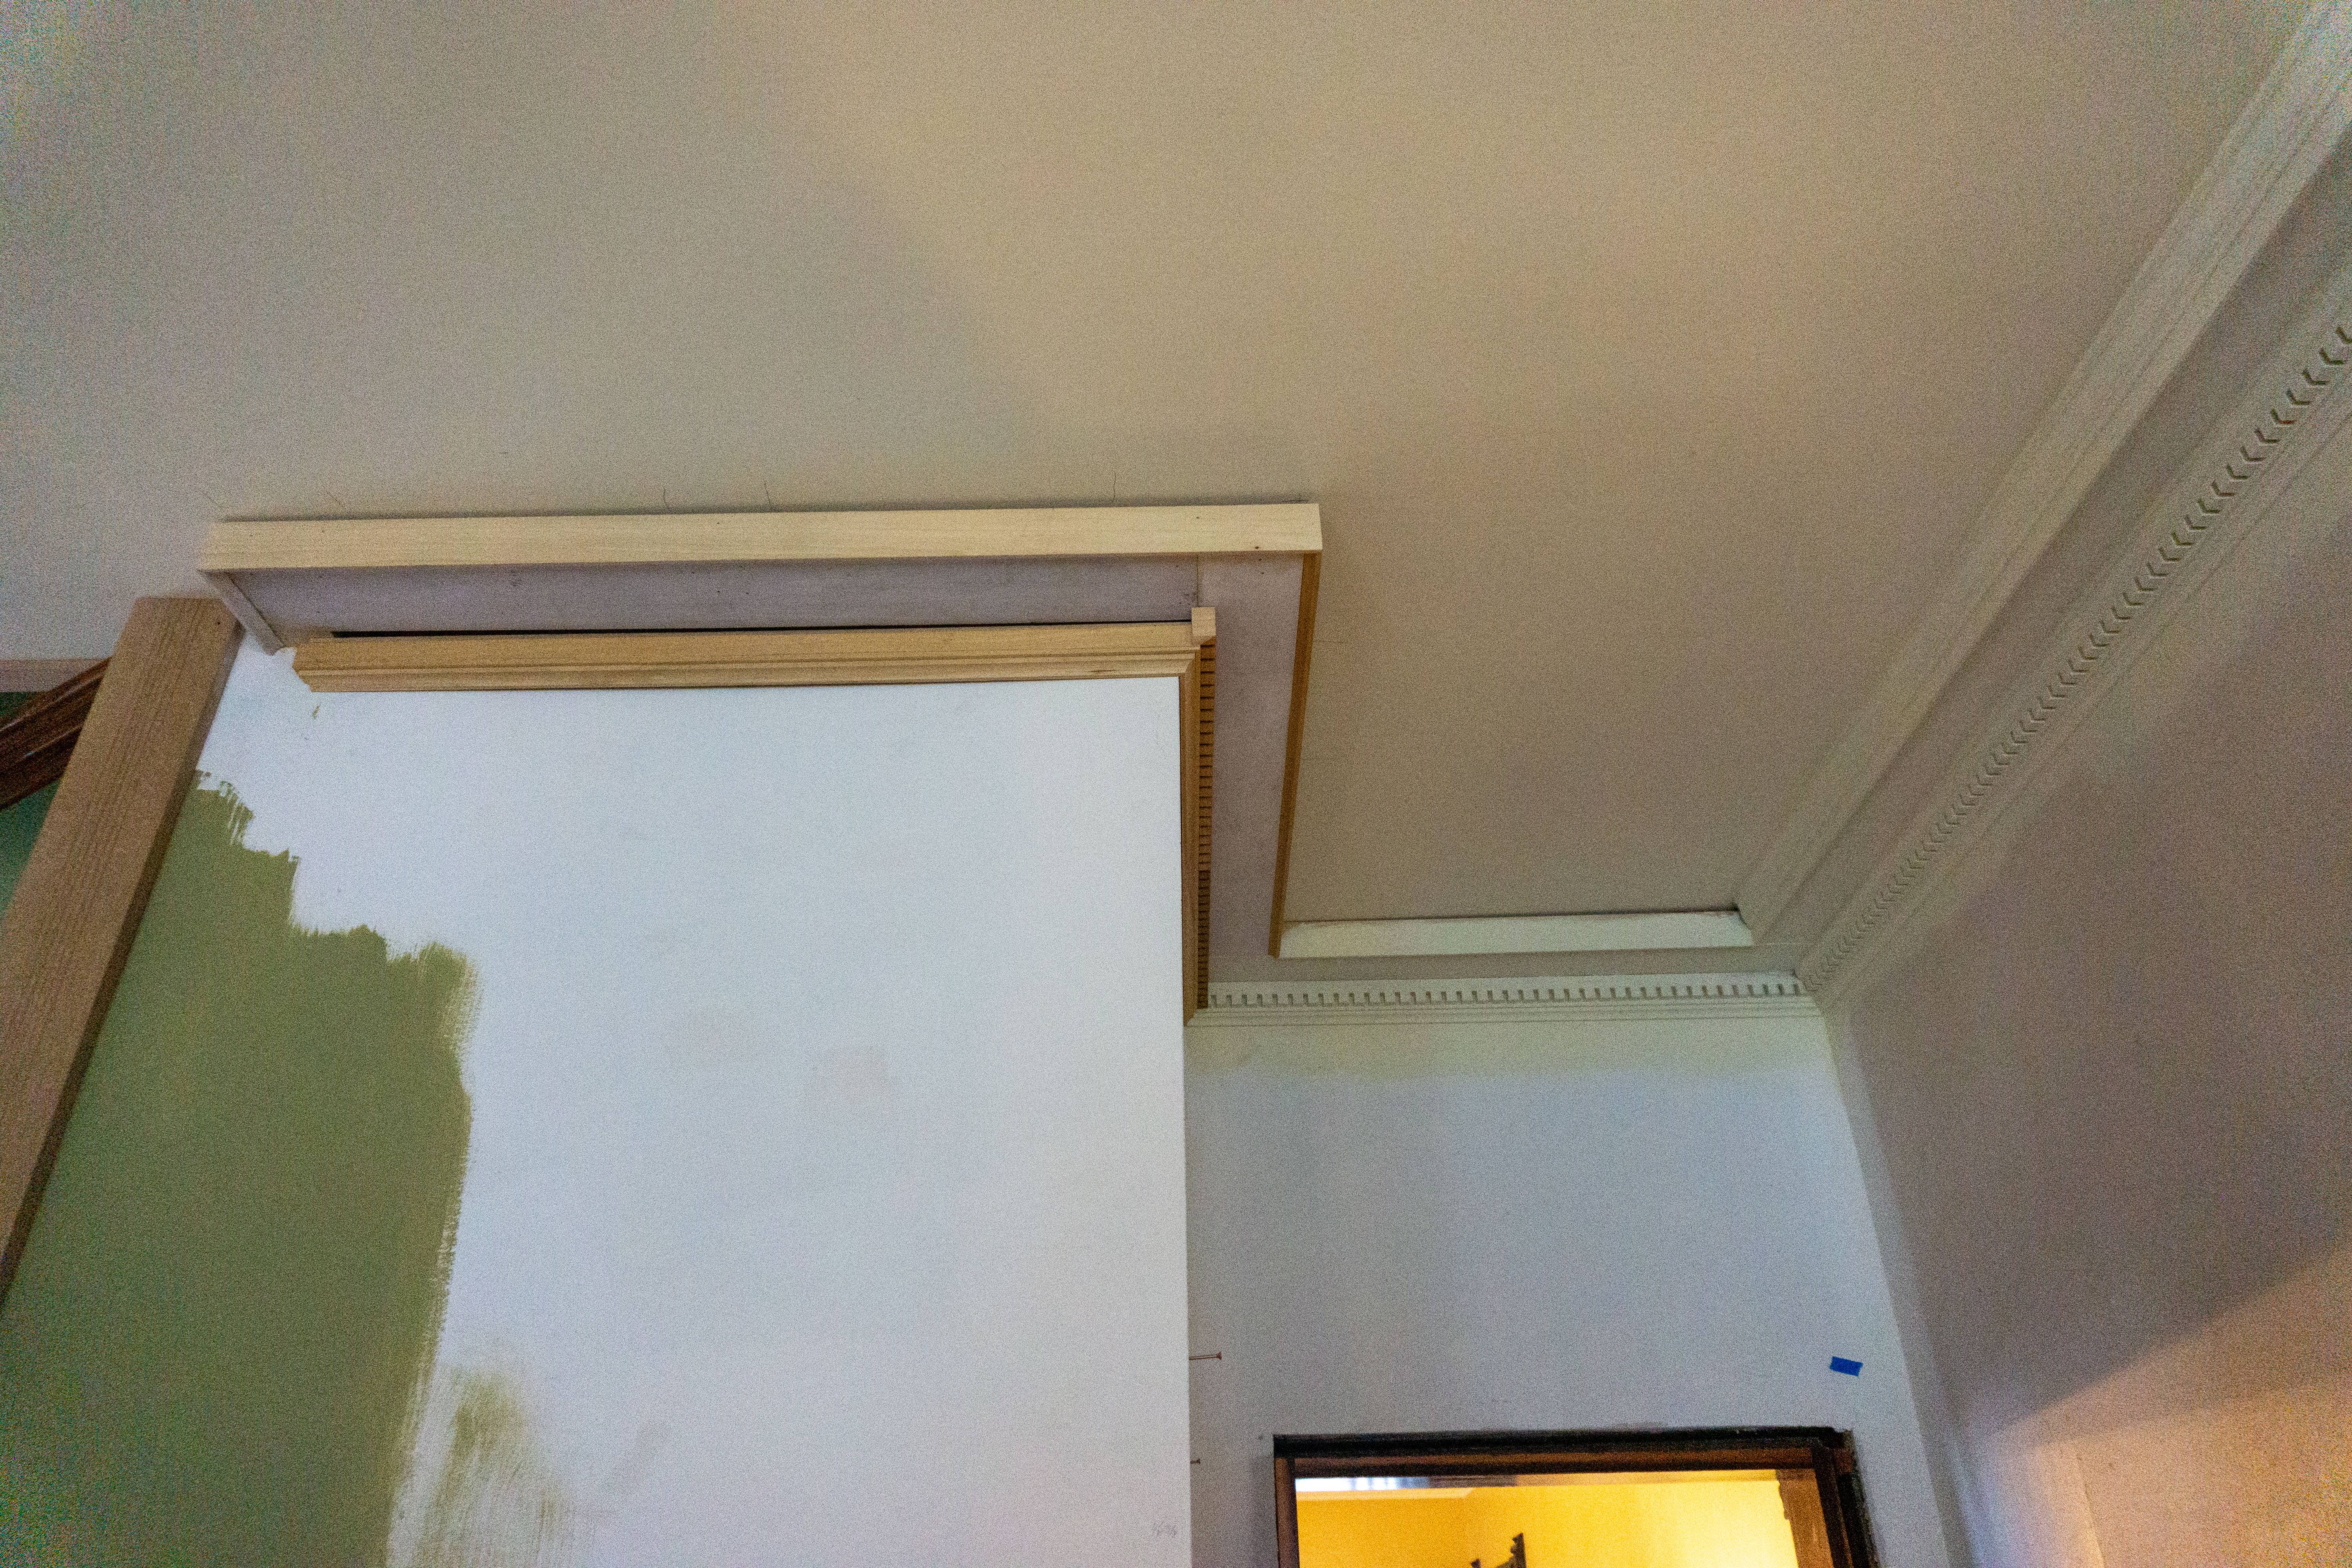
I cut and installed a q/s white oak molding that wraps around the wall–ceiling joint where the staircase opens up. The corner features a cute little turned knob that matches the newels. I dinged up the drywall getting the wood in, but the moldings themselves turned out great. More to stain and finish later.

Finishing up the cornice

Now that the pendant is installed, I can finally return to the foyer cornice I nearly completed last year. I only have about 8 feet total of cornice to finish, but the buildup requires seven pieces of trim, and the 8 feet measurement includes an inside corner, an outside corner, and a self return, so the going is slow. I guess I’m about halfway done with the job here.

New stairs, day 8

Aside from the railing, the long upper run of steps is just about done. Today Jordan focused on the lower area and got a lot done. The very first step is wider than the rest and has a big 10-inch radius on one end. The riser, which is also curved, ended up being fabricated by Jordan’s dad, who is a retired carpenter. It’s kerfed q/s white oak plywood, not a solid board. Don’t tell anyone!

Jordan stayed late tonight to get us to a good spot with the bottom three steps. We haven’t had sturdy, dependable steps here ever since we moved in. They are long overdue. You’ll notice a gaping hole where the bottom newel post will sit. Turns out I wasn’t able to drill that hole after all, despite trying my hardest. Jordan will take it back to Hiland tomorrow; they kindly said they’d do it for me.

He’ll be back on Friday for another work day—hopefully getting to somewhat of a temporary stopping point so I can do some finishing and finalize my spindle order with Hiland.