Our first-floor bathroom is an absolute wreck. To make a long story short: in the 1880s, there was no bathroom at all on this floor of the house. I can only assume this area was either part of the back parlor or some sort of butler’s pantry (hard to tell without doing more archaeology). It was converted to a roughly 13′ × 6′ bathroom when Bonebrake became a duplex in circa 1920, complete with unglazed hex tile floor. In the 1980s, when Bonebrake turned back into a single-family home, the original passageway–bathroom footprint was modified to turn the passageway into a wet bar and the bathroom into a tiny windowless closet. One giveaway was the unglazed hex tile floor, awkwardly present under half of the wet bar. In these photos our home inspector took, I’m helpfully reminded that the sink here was completely loose:
Above are photos of the bathroom before we did anything, but depending on how you look at it, the room has gotten worse. It’s possibly the ugliest room of the house. We opted to undo the 1980s remodel and move the wall back to its 1920 position, which meant we ended up with a new wall and door opening to finish out. We demolished some of the tile, 1980s vinyl flooring, and a few other fixtures when we first moved in—because the dumpster was handy—which has left it in a particularly ugly state of partial completion. To make matters worse, the ridiculous black toilet gave up the ghost after several months, so I swapped it out for a Ming green toilet I had waiting in the wings. Now we have a green toilet next to a black pedestal sink that isn’t attached very well, so it wobbles. The century-old hex tile floor is missing in places. To top it off, this room has had some form of a temporary door for the last year and a half. After the new doorway was framed in, I repurposed an old unsalvageable door jamb, cutting hacky new mortises into it and hanging the shabby circa 1920s door I planned to eventually refurbish. A few months ago, I removed this temporary doorway so I could repair and repaint the door, so we’ve had a makeshift curtain covering the opening since then. It’s been really classy. I don’t have any immediate plans to complete the bathroom restoration, but I do want to get the doorway completely finished so I can get the outside trim installed. Plus, it’s nice to have a door on your bathroom.
I decided to treat the small passageway outside the bathroom with the same paint colors as the dining room, since they are adjacent, and I ordered casings and baseboards to trim it out accordingly when I got everything for the dining room (more on that some other time, I guess?). But I couldn’t get the casings on this bathroom door until the jamb was installed. And I couldn’t get the jamb in until I got the door hinges planned out. And the chrome hinges I wanted to use had been backordered for four months.
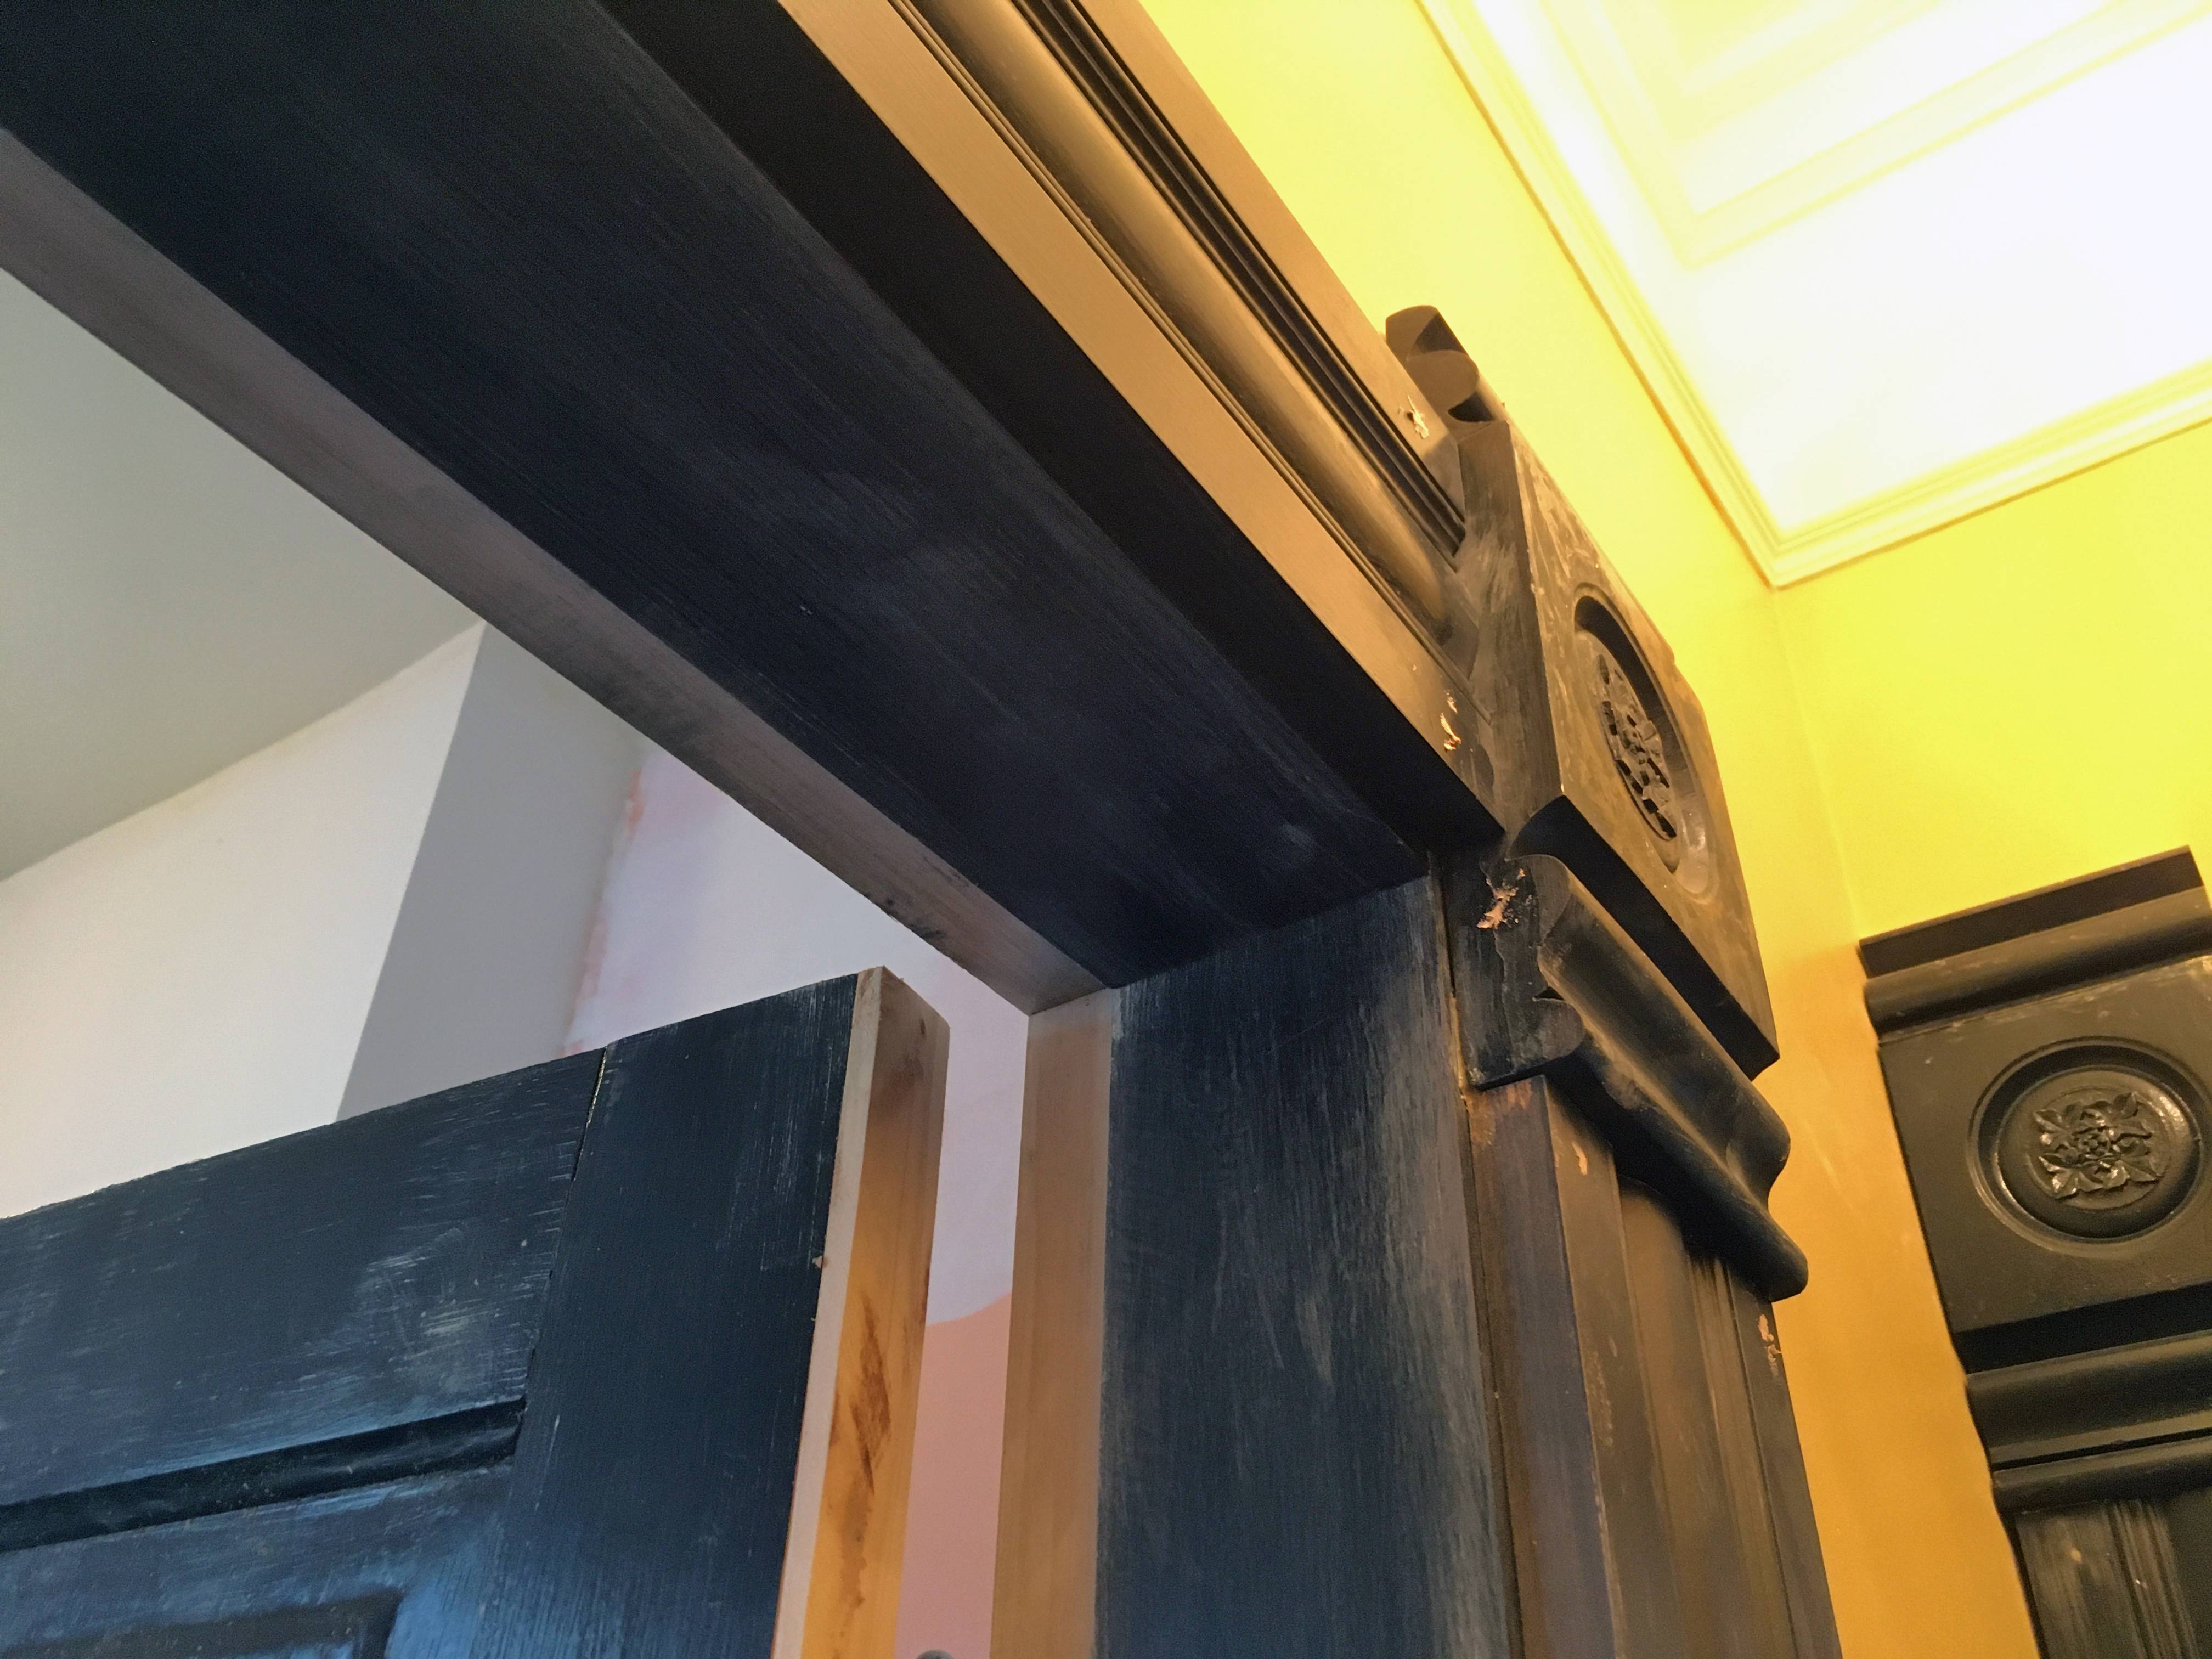
I finally got the hinges a few weeks ago, so I got to work getting the jamb (made from new material I had produced) assembled and installed, and getting the old door ready to hang. As part of the changed wall configuration, I had to change the door’s handedness, which entailed putting a new bevel on the latch side. The door’s hinge-side stile was over 1/2″ wider at the top than the bottom, so I simply ripped down the whole door on the table saw and added a piece of new material to make it a consistent width. (I don’t remember how well it worked in its previous incarnation, but it can’t have been great.) New mortises in the new material on the door, new mortises in the new door jamb, and we’re back in business. I do not recommend hanging a door this old and messed up from scratch, because it took far longer than any reasonable person should spend on such a project. I still need to take the hinges off to finish painting, but otherwise, I think it looks pretty good:
Next time I will talk about the rest of the hardware I am using in this opening, because there are a few cool things to call out.